A commercial roof leak is not just a stain on the ceiling; it is a business interruption, a liability exposure, and a cost driver that demands a structured, technical response. This guide walks through the step-by-step diagnostic workflow leak repair specialists use to locate the source quickly, protect interiors with fast containment, and select permanent repairs tailored to the roof system. Expect concrete checkpoints, timing and cost drivers, and a contractor evaluation checklist you can use the next time an active leak threatens your building.
1 Rapid triage and safety protocols for active leaks
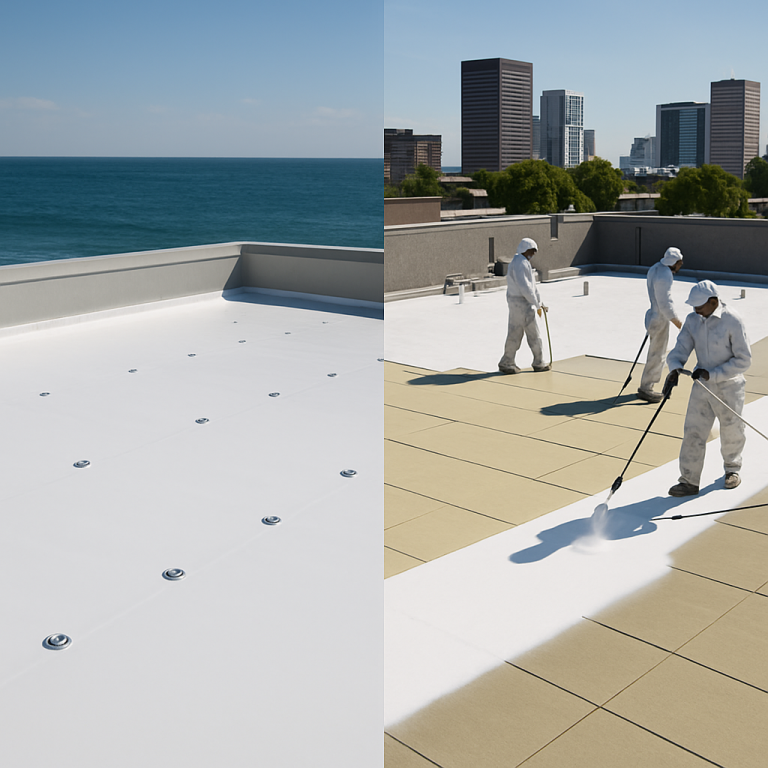
Immediate priority: stop harm and limit interior damage before diagnosing the root cause. Leak repair specialists treat containment as the nonnegotiable first step — not an optional add-on — because a fast, documented containment reduces business interruption, lowers restoration cost, and protects liability exposure.
On arrival: the first 30–90 minutes
Triage actions: secure the scene, protect occupants and critical equipment, and make the situation safe for the crew and tenants. Expect crews to deploy buckets and containment trays, cordon off affected areas, cover delicate assets with plastic, and place temporary drip channels or buckets under the leak while they prepare roof access.
- Life and electrical safety first: isolate or de-energize affected electrical panels in coordination with building management and an electrician.
- Interior protection: move critical equipment or erect temporary covers and containment trays — don’t assume a ceiling tile will hold water.
- Temporary roof containment: apply emergency tarps, butyl patches, or temporary scuppers to divert flow; these are stopgaps, not permanent repairs.
- Access and fall protection: set anchor points, harnesses, and edge controls per OSHA guidance before any rooftop work.
Documentation matters more than you think. Photograph interior damage, rooftop conditions, and every temporary repair with timestamps; leak repair specialists use this record for insurance, liability, and to prevent scope creep when moving from containment to permanent repair.
Safety and compliance checklist (what owners should expect)
- Written site safety plan and proof of OSHA training for crew members working at height.
- Lockout/tagout or electrical coordination if water is near energized equipment.
- Confined space risk assessment where roof drains or stacks require entry.
- Photographic log with time, GPS-tagged images when possible, and a signed field report.
Trade-off to accept: temporary fixes buy time but mask underlying damage. A quick tape patch or tarp will stop a drip and protect assets, but it can hide saturated insulation or seam failures until proper diagnostics are done. Good contractors mark temporary repairs clearly and schedule confirmatory testing within 24–48 hours.
Concrete Example: At a distribution center, a leak developed directly above a control panel. The responding crew coordinated an immediate panel shutdown, installed containment trays and a temporary EPDM patch over the penetration, and set up a safety perimeter. Interior damage was contained within 90 minutes and an infrared scan was scheduled for the next morning to map wet insulation.
Containment precedes diagnosis: never let a rushed diagnostic step delay documented temporary protection of people and assets.

Frequently Asked Questions
Short answers first: experienced leak repair specialists prioritize immediate containment, documented diagnostics, and targeted repairs — not one-off patches. That sequence is what determines how quickly a leak truly stops and whether the repair holds.
| Common Question | Practical answer |
|---|---|
| How fast can a crew stop an active commercial roof leak? | Crews can usually implement emergency containment within hours; a confirmed permanent repair often follows within days to a few weeks depending on diagnostics, materials, and access. |
| When is infrared thermography required? | Use it when a visual walk-down cannot locate the source or you need a roofwide moisture map; schedule scans overnight or pre-dawn for reliable thermal differential and pair results with moisture meters. |
| Will a small patch fix a recurring leak? | Only if diagnostics prove the issue is isolated and insulation is dry; recurring leaks frequently signal seam, flashing, or drainage failures that need broader work. |
| What paperwork should I insist on before payment? | A dated diagnostic report with photos, moisture map or core results, a signed scope with line-item pricing, and the contractor and manufacturer warranty documents. |
| Are roof coatings a permanent fix? | They extend life when substrate and drainage are sound; coatings are not a solution for saturated insulation or systemic membrane failures and may be ineligible for some manufacturer warranties. |
| Which credentials matter most? | Manufacturer applicator certification, commercial roofing insurance, OSHA training records, and evidence of past projects similar in size and system type. |
Practical insight: infrared and capacitance meters accelerate triage but are not definitive. In practice, many contractors lean on thermal scans as a silver bullet; that can lead to missed seam failures or localized penetrations. When insurance, warranty, or liability are involved, insist on confirmatory core cuts that tie the thermal signature to physical moisture.
Concrete example: A retail building showed a broad cold patch on an overnight FLIR scan suggesting large-area wet insulation. Cores taken at two focused spots revealed a failed flashing and limited insulation saturation, not a total roof recover. The contractor changed the scope from an expensive recover to targeted flashing repairs and localized insulation replacement, saving the owner time and money.
- Questions to ask on first contractor call: What is your guaranteed emergency response time, which noninvasive tools will you use, will you provide moisture mapping and cores, and can you supply manufacturer sign-off for the proposed repair?
- Documentation to request before work starts: written safety plan, photo-log requirement, and a temporary protection plan that details how interior assets will be guarded.
- When to push for cores: whenever thermal or meter readings show extensive wet areas, when claims or warranties are at stake, or when you need a definitive scope to present to insurers.
If an insurer or manufacturer warranty is involved, a thermal image alone rarely satisfies proof of loss — get at least one core with a signed field report.
Judgment call: small, inexpensive repairs look attractive, but they can create a cycle of recurring service calls and hidden restoration costs. Owners should treat targeted patches as contingent actions: accept them for immediate containment only if the contractor commits to follow-up diagnostics and a clear upgrade path if cores show deeper damage.
Next steps you can implement today: 1) Add a clause to emergency orders requiring a moisture map and at least one confirmatory core when thermal or meter readings are used; 2) Demand a written temporary protection plan and photo-log on arrival; 3) Ask vendors for manufacturer applicator credentials and an emergency SLA before site access is granted.